Lesson 17: Create Lists Within a List
Overview
In this lesson, you will make it possible for users to enter sublists within a list by placing REPEAT instructions inside each other. You will use a template called Editor/Author List, which keeps a record of the authors each editor has worked with at Hobble Creek Publishing. The list will also include a list of each author’s books that each editor has edited.
You will create this three-level list by nesting REPEAT instructions inside each other. There are two parts to nesting REPEAT instructions:
- Insert REPEAT instructions in the template.
- Insert repeated dialogs into each other.
Start the Tutorial
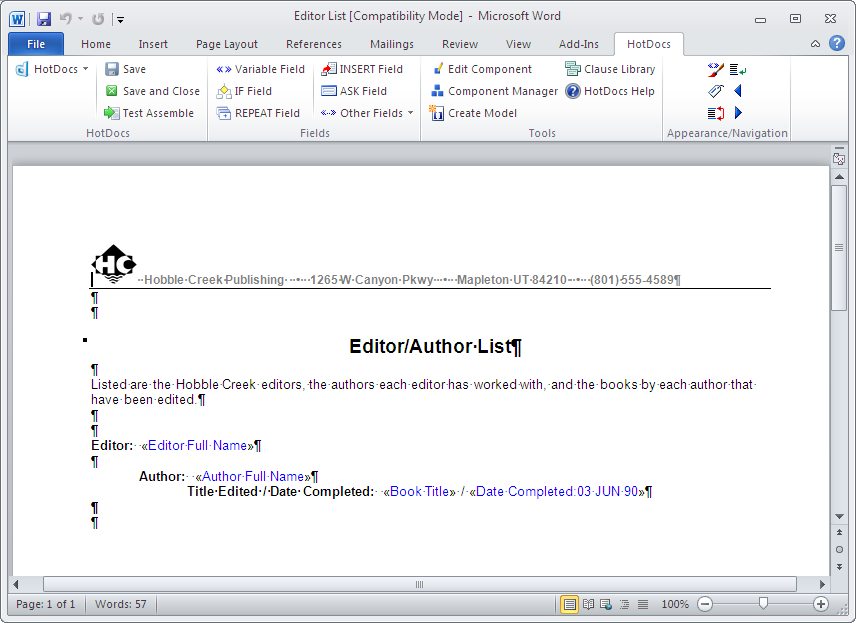
You will work with the Editor/Author List template for this part of the tutorial.
To open the tutorial template
- Open your word processor and click the
 HotDocs button, located on your word processor’s toolbar. The My Test Templates library appears.
If the My Test Templates library does not appear, choose Open Library (File menu), select the library in the default Libraries folder (for example, My Test Templates.hdl), and click Open.
- From the My Test Templates folder, select Editor/Author List.
- Click
 Edit. The template appears, ready for you to edit.
Insert REPEAT Instructions
As the template is now, you can enter only one answer for each variable. However, you may want to enter multiple answers for each variable. For example, you may want to include a list of editors and under each editor, list several authors who have worked with each editor. Likewise, each author may have written more than one book. To create such a list, you must first insert the necessary REPEAT instructions into the template.
To insert the REPEAT instructions into the template
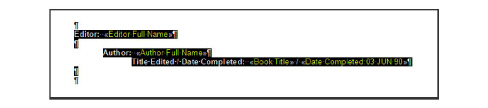
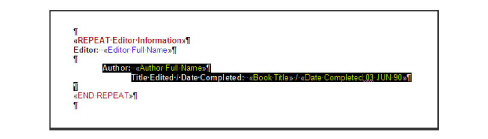
- Select the three lines of text that begin with Editor, Author, and Title Edited/Date Completed, followed by the blank line below the last line of text. (Selecting the blank line will separate editors’ information with an additional line.)
If you are using Word, the selected text should look like this:
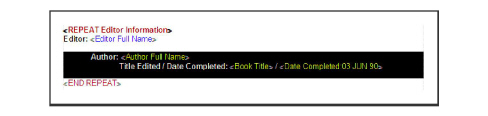
If you’re using WordPerfect, the selected text should look like this:

- Click the
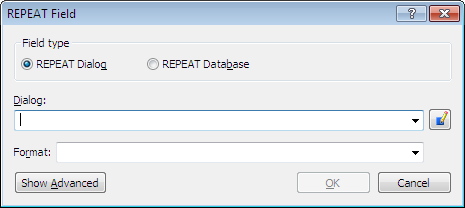
 REPEAT Field button. The REPEAT Field dialog box appears
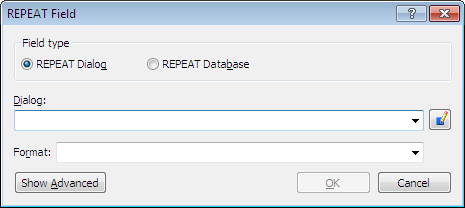
The Editor Information dialog, which has already been created, contains the variable for the first level of the list, Editor Full Name.
- Click the Dialog drop-down button, select Editor Information, and then click OK. The Editor Information REPEAT instruction appears around all three levels of the list.
- Starting with the line containing the second level of the list, Author, select the text and variables up to the «END REPEAT».
If you’re using Word, the selected text should look like this:
If you’re using WordPerfect, select the entire first line, starting at the left margin. The selected text should look like this:
- Click the
 REPEAT Field button. The REPEAT Field dialog box appears.
The Author Information dialog contains the variable for the second level of the list, Author Full Name.
- Select Author Information from the Dialog drop-down list and click OK.
The REPEAT Author Information instruction appears around the text and variables starting with the sublist Author.
- If you are using Word, position your cursor before the «REPEAT Author Information» instruction and press the Backspace key so the REPEAT instruction is aligned with the left margin. (Doing this ensures the sublists are properly tabbed in the assembled document.) If you are using WordPerfect, do nothing.
On Your Own
The Book Information dialog contains the variables for the third level of the list, Book Title and Date Completed.
Insert a REPEAT instruction for the sublist Title Edited / Date Completed. Use Book Information as the repeated dialog, and, if you’re using Word, make sure the REPEAT instruction is also aligned with the left margin—just like Author Information.
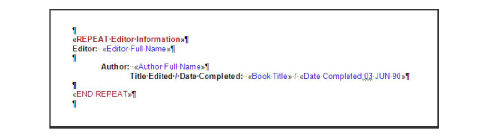
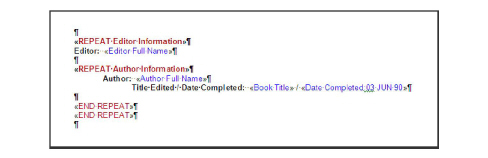
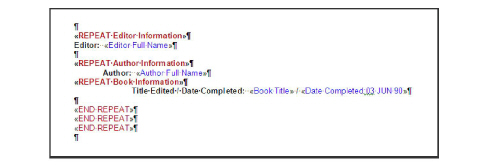
This is how the template should look after you’ve inserted all three REPEAT instructions. Note how the REPEAT instructions are nested three levels deep.
Insert the Author Information Dialog into the Editor Information Dialog
Now that you have created nested REPEAT instructions in the template, you must nest the actual dialog components so they represent the nesting shown in the template.
During an interview, an inserted dialog appears on its parent dialog as an icon. Users click the icon and the inserted dialog appears. When they finish answering questions in the inserted dialog, they are returned to the parent dialog.
You can do this by inserting the second and third-level dialog components into the dialogs that precede them. In other words, you must insert the Book Information dialog into the Author Information dialog, and the Author Information dialog into the Editor Information dialog.
To insert the Author Information dialog into the Editor Information dialog
- Click the
 Component Manager button. The Component Manager window appears.

- Select the dialog, Editor Information, from the list and click the
 Edit Component button. The Dialog Editor appears.
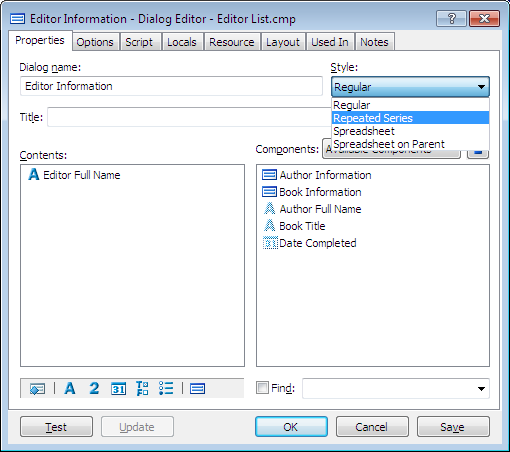
Repeated Series and Spreadsheet are two style options for repeated dialogs. One of these two options must be selected in order for repeated dialogs to work.
- Click the Style drop-down button and select Repeated Series. This will cause the dialog to repeat as a series of questions.
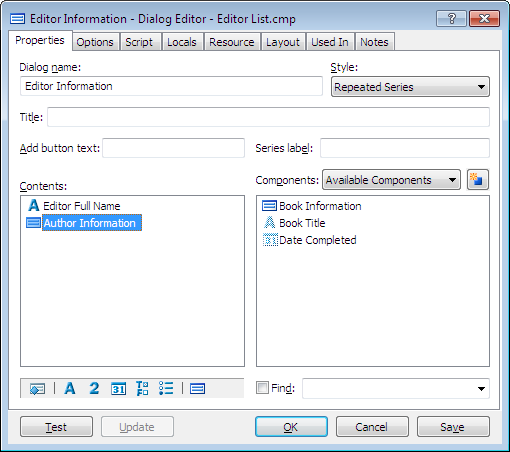
- Drag Author Information from the Components list to the bottom of the Contents list.
Insert the Book Information Dialog into the Author Information Dialog
Finally, you must insert the last dialog, Book Information, into the Author Information dialog.
To add Book Information dialog to Author Information
- At the Dialog Editor for Editor Information, double-click the Author Information icon in the Contents list. The Dialog Editor appears, showing the Author Information dialog.
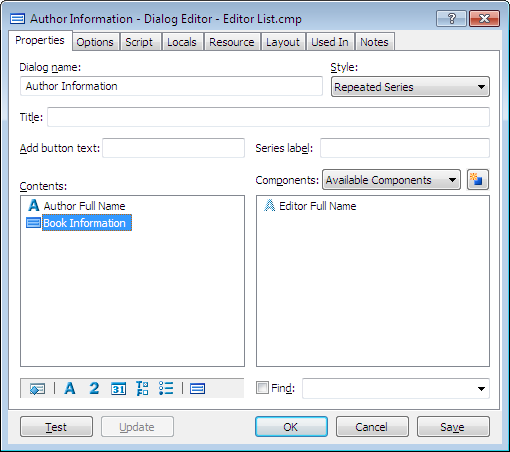
- Click the Style drop-down button and select Repeated Series.
- Drag Book Information from the Components list into the Contents box.
- Double-click Book Information. The Dialog Editor for Book Information appears.
- Click the Style drop-down button and select Spreadsheet on Parent. (Selecting Spreadsheet on Parent displays the dialog—in spreadsheet format—directly on the Author Information dialog, thus eliminating an extra mouse click for the user.)
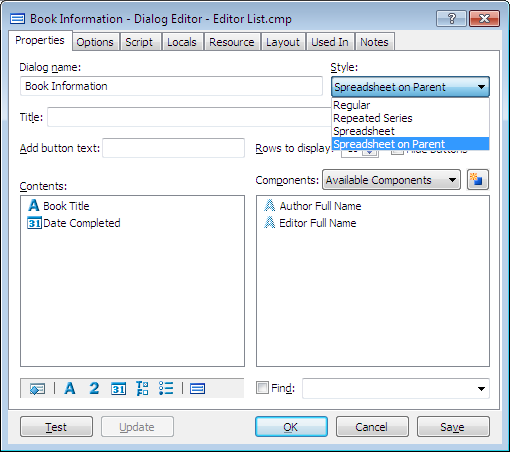
- Click OK.
- At both the Author Information and the Editor Information dialog boxes, click OK. Then close Component Manager.
Test the Nested Repeat Instructions
As you already know, it is always useful to test any complex work you do when automating a template to make sure your template works correctly.
To test a nested repeat instruction
- At the template, click the
 Test Assemble button. A test assembly window appears.
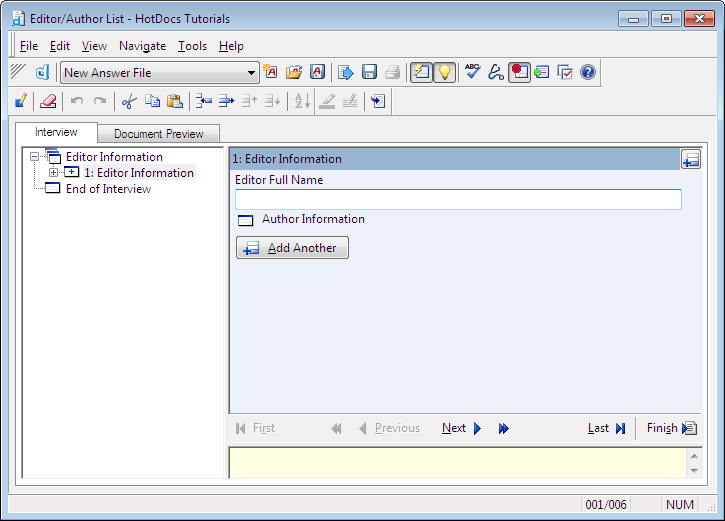
- Enter an editor at the Editor Information dialog, and click the Author Information child dialog icon to enter the author information. The Author Information dialog appears.
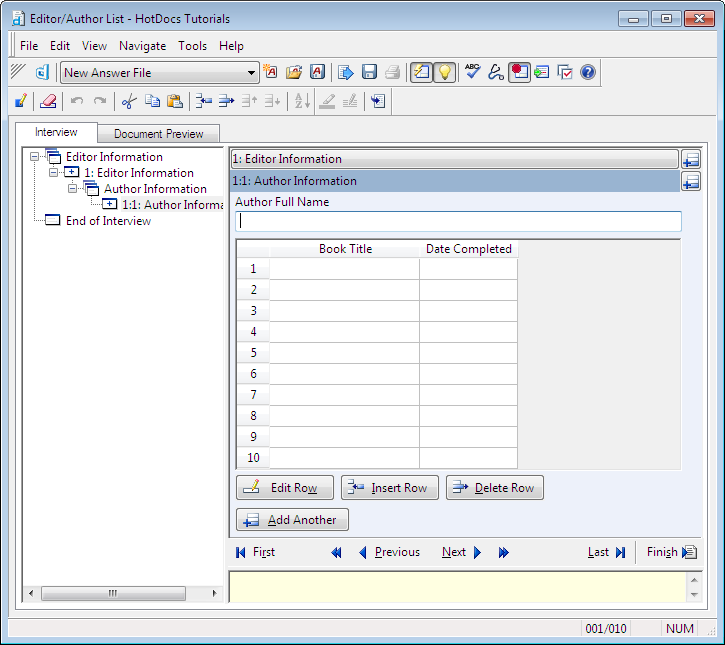
Notice that instead of a child dialog icon appearing for the Book Information dialog, a spreadsheet appears instead. This is because you selected Spreadsheet on Parent at the Style drop-down list.
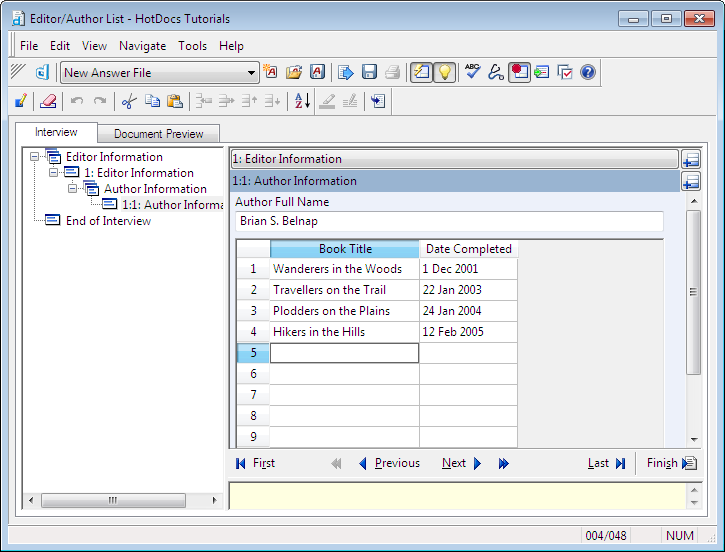
- Enter the author information, along with a list of book titles and their completion dates.
- Click
 Add Another to enter information for a second author along with that author’s book information.
You can also press Alt+Left Arrow to move to the parent dialog, where you can then press Alt+A to add another repetition for Editor Information.
- After you’ve entered the information for the second author’s books, click the
 Add Another button in the Editor Information title bar. You are taken to an empty repetition of the Editor Information dialog.
 - Enter information for a second editor, along with that editor’s author and book information.
- Continue this process for as many editors (and corresponding authors and books) as you want. Eventually, you will see several levels of answered dialogs in the interview outline.
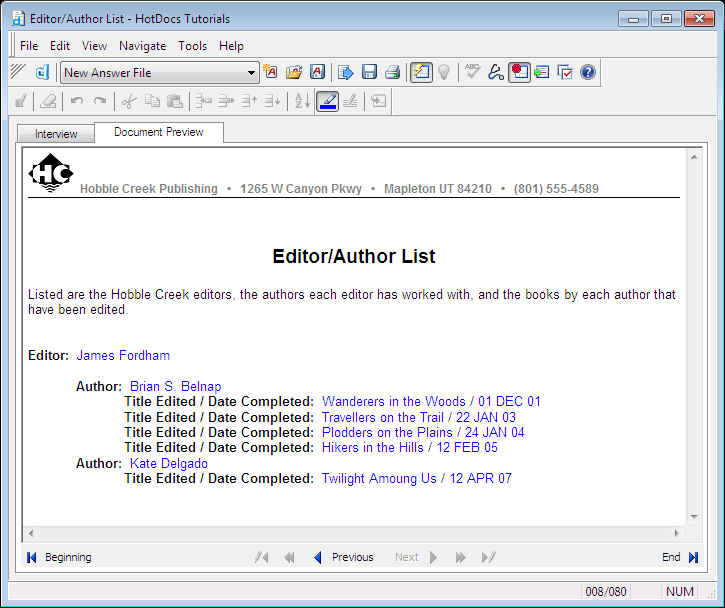
- Click the Document Preview tab when you’re finished entering author and book information for the last editor in your list. A preview of the assembled document appears, with a three-level list.
- Choose Close (File menu) to close the test assembly window. You don’t need to save your answers.
- Click the Save and Close button to close the template.
Conclusion
You are finished with the HotDocs tutorial. You can now complete the HotDocs Automator tutorial, where you will learn how to automate form templates.
For additional information on using HotDocs, please refer to the HotDocs Help.