At a Glance: The Dialog Element Editor
A
B
C
D
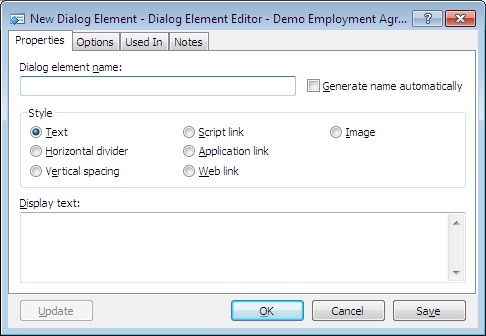
You can open the Dialog Editor from the Component Manager or while editing a template. From there you can choose to add a new dialog element by clicking the  Dialog Element button. This opens the Dialog Element Editor. You can also access this window by double clicking on an existing dialog element at the Component Manager.
In the first text field A you can enter a name for your new dialog element or you can check the box B to the right of this to have HotDocs generate a name automatically.
Below this is a set of check boxes C where you can choose what style of dialog element you need to make. You can choose from:
- Text: Allows you to include additional information on the dialog to help the user answer the questions correctly.
- Horizontal divider: Allows you to insert a horizontal line on the dialog to separate questions in the dialog. If needed, you can also include text with the separator to better explain what's required in the following section.
- Vertical spacing: Allows you to place empty space in the dialog to help you better define "sections" of a dialog.
- Script link: Allows you to place a link on the dialog that, when clicked, executes a computation script. This may be useful if you want users to perform a computation or other type of command and have the result immediately take effect.
- Application link: Allows you to place a link on the dialog that, when clicked, launches an application. This may be useful if your users need to access other programs as they complete the interview.
- Web link: Allows you to place a link on the dialog that, when clicked, opens a Web page.
- Image: Allows you to place an image or picture on the dialog.
Depending on what you choose the section below D will show different options. If you select Text then you will see a text field where you can enter the text you wish to display.
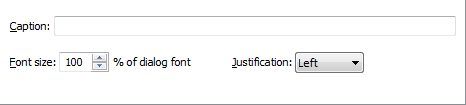
If you select Horizontal divider (above) then you can choose to enter a caption to go with the divider, the percentage of the dialog font you would like the caption font to be and the justification of the cation on the horizontal divider.
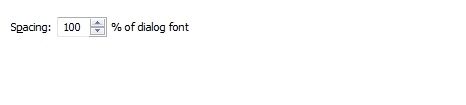
If you select Vertical spacing (above) then you can choose the size of the spacing by selecting a percentage of the dialog font.
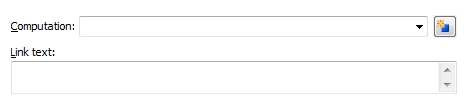
If you select Script link (above) then you can enter the name of a computation variable in the first text field or use the  New Component button next to it to create a new computation variable. In the second text field you can enter the text you wish to use as a link.

If you select Application link (above) then in the first field you can type in the file path for your application or use the  Browse button to navigate to it. In the second text field you can enter the text you wish to use as a link.
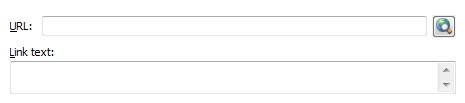
If you select Web link (above) then in the first field you can type in the URL you wish to use or click the  Browse button to navigate to it. In the second text field you can enter the text you wish to use as a link.
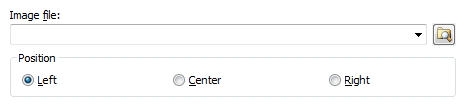
If you select Image (above) then in the first field you can choose the image file you wish to use by either entering the file path, choosing from the drop down list of recently used images or clicking the Browse button to the right of the field. Below this you can choose one of the three position options for the image.
More dialog element options are available in the other tabs:
- Options: Choose whether to display text in All views of the dialog, Spreadsheet view only, or Edit Row view only when using spreadsheet dialogs.
- Used In: See a list of other components that use this dialog element. (see At a Glance: The Used In tab (Component/Dialog Editor) for more information
- Notes: Make development notes about the dialog element. (see At a Glance: The Notes tab (Component/Dialog Editor) for more information.
To learn more about using the Dialog Element Editor follow the links below: