Lesson 10: Create a Default Interview
Overview
In Lesson 9, you grouped variables in your template into custom answer-gathering dialogs and created answer wizards that used those dialogs. In this lesson, you will learn how to create a default interview, which displays your dialogs in the Interview tab during assembly. After creating this interview, your form template will be complete and ready for a final test assembly.
Start the Tutorial
If you are continuing immediately from Lesson 9, skip the instructions for opening the template and proceed to “Have HotDocs Generate a Default Interview.”
If you closed the template at the end of Lesson 9, complete the following steps.
To open the tutorial template
- Open HotDocs Developer (choose Start
> Programs > HotDocs 11 > HotDocs Developer).
The My Test Templates library
appears.
If the My Test Templates library does not appear, choose Open Library (File menu), select the library in the default Libraries folder (for example, My Test Templates.hdl), and click Open.
- Select Life Insurance Application and
click
 Edit.
The template appears in HotDocs Automator, ready for you to edit.
Edit.
The template appears in HotDocs Automator, ready for you to edit.
Have HotDocs Generate a Default Interview
When you assemble a form document, you can enter your answers directly at the Form Document tab of the assembly window as you did at the end of the previous lesson, or you can enter answers at the Interview tab where questions are grouped into dialogs. To display the Interview tab during assembly, you must create an interview for your template.
You can have HotDocs generate a default interview, which it creates by reading through the fields in the template and asking variables in the order they appear. If the variables are linked to a dialog, it asks the dialog instead. These variables and dialogs then appear in the Interview tab of the assembly window.
For most templates, the default interview is sufficient. However, if you need control over the order questions are asked in the interview, you can create a custom interview instead. See the HotDocs Help to learn how to define a custom interview.
You can have HotDocs generate a default interview by specifying a property in your template’s component file.
To select the property that specifies a default interview
- Click the
 Component Manager button. The Component Manager window appears.
 - At Component Manager, click the
 Component File Properties button. The Component File Properties dialog box appears.
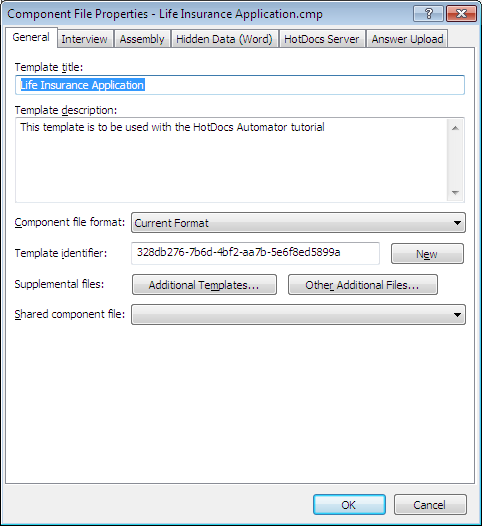
- Click the Interview tab. The view changes to show interview options.
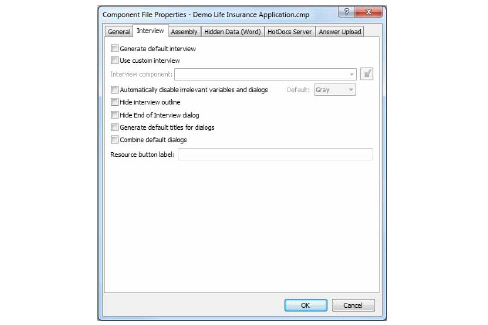
If you select Use custom interview, you can create a computation that asks the dialogs in the order you choose, rather than the default order determined by HotDocs. (See the HotDocs Help for specific information on creating a custom interview.)
- Select Generate default interview.
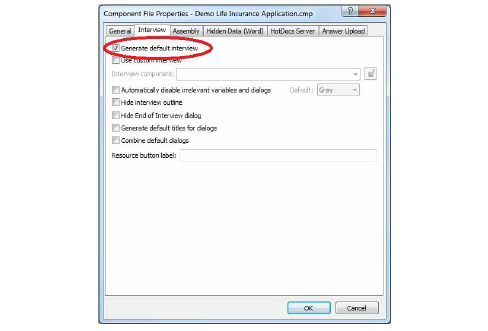
- Click OK.
- Close Component Manager by clicking the X in the upper-right corner.
- Click the
 Save Form button to save your template.
Now when users assemble the document, they will, by default, enter answers using an interview. Also, any fields that require an answer wizard for which you have not explicitly created one will have default answer wizards during assembly.
Assemble a Form Document Using an Interview
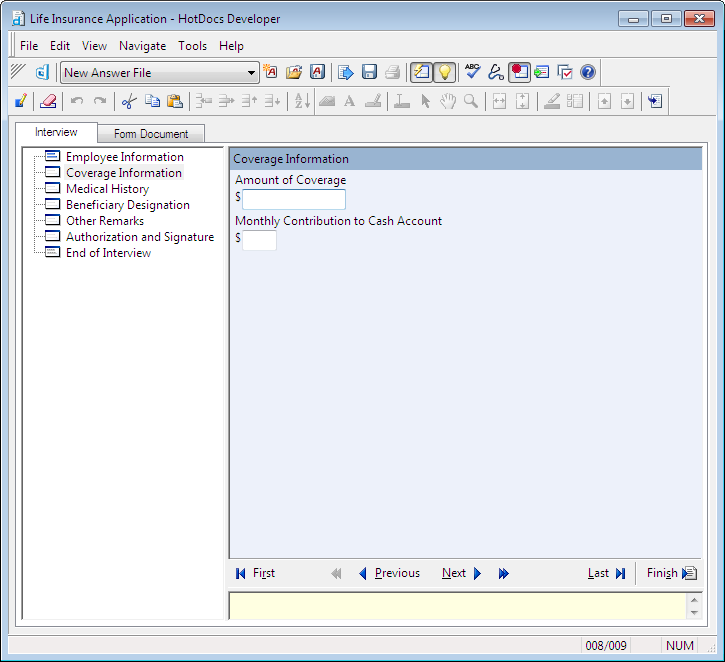
Once you have specified a default interview, HotDocs adds an Interview tab to the assembly window. (Direct-fill assembly shows only the Form Document tab.) The Interview tab shows an interview outline and the dialog pane. The interview outline displays icons for the dialogs you have created. You can click any dialog icon and view the corresponding variable or variables in the dialog pane, where you enter answers.
To test assemble a document using an interview
- Click the
 Test Assemble button. A test assembly window appears, displaying the Employee Information dialog in the right pane of the window. The left pane shows the interview outline.
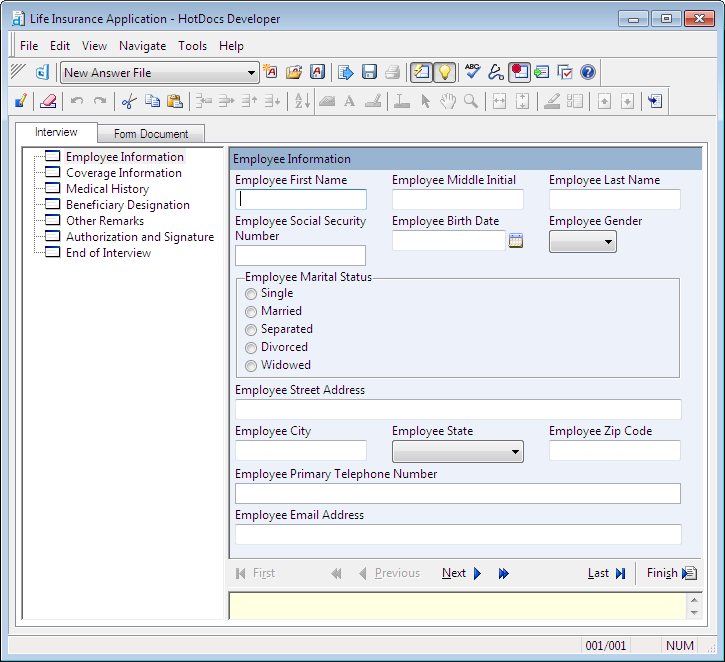
- Enter the information in the answer fields and click Next to see the next dialog.
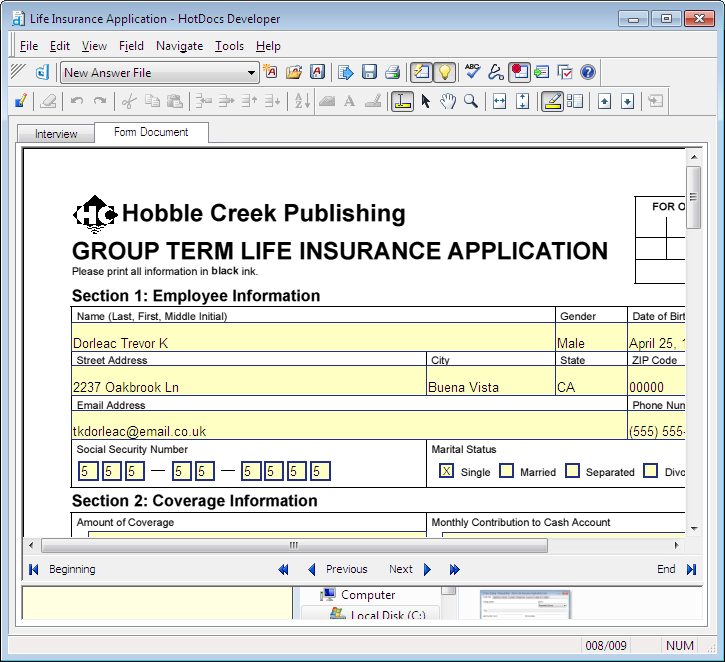
- When you are finished, click the Form Document tab. The assembled form document appears, showing the answers you entered.
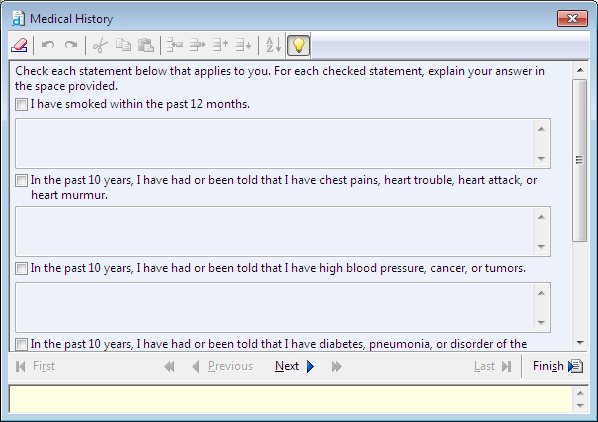
- Click in one of the explanation fields in the Medical History section. HotDocs displays an
 Answer Wizard button next to the field. (If you click this button, HotDocs displays the Medical History dialog as a pop-up, where you can answer any questions in the Medical History section.)
- Click in one of the cells of the Beneficiary Designation table. HotDocs displays a
 Table Wizard button next to the cell.
6. Click the
 Table Wizard button. The Beneficiary Designation pop-up dialog box appears.
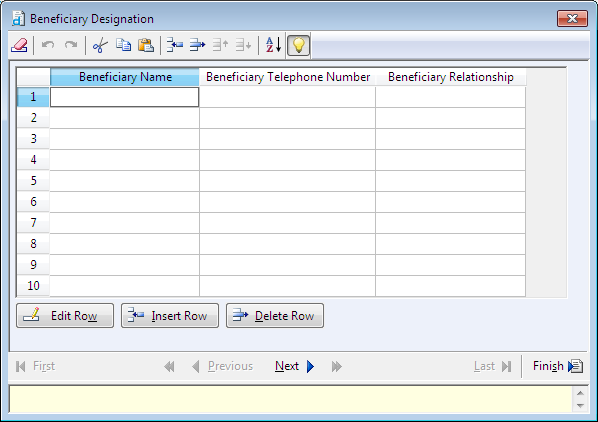
7. Enter at least seven beneficiaries in the list (one more beneficiary than will fit in the allotted space on the form), and then click Finish. The first six answers are merged into the appropriate spaces on the form.
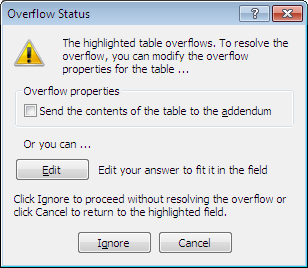
8. Press Tab until you get to the last cell in the Beneficiary Designation (Continued) table (at the top of the second page), and then press Tab again. The Overflow Status dialog box appears.
The Beneficiary Designation table at the bottom of the first page does not overflow to the addendum because its filter limits the answers to the first three beneficiaries. The continuation table, however, displays all beneficiaries after the first three, which means it can overflow.
This dialog box warns you that you have entered more answers than can fit in the table and gives you options for working with the overflow.
9. Select Send the contents of the table to the addendum and click Continue. HotDocs sends the beneficiary information to the addendum and inserts the reference See 1 in Addendum in the first table field.

You can customize the layout of the addendum page, as well as the label inserted in the template when a field overflows. (For more information about customizing the addendum and overflow options, see the HotDocs Help.)
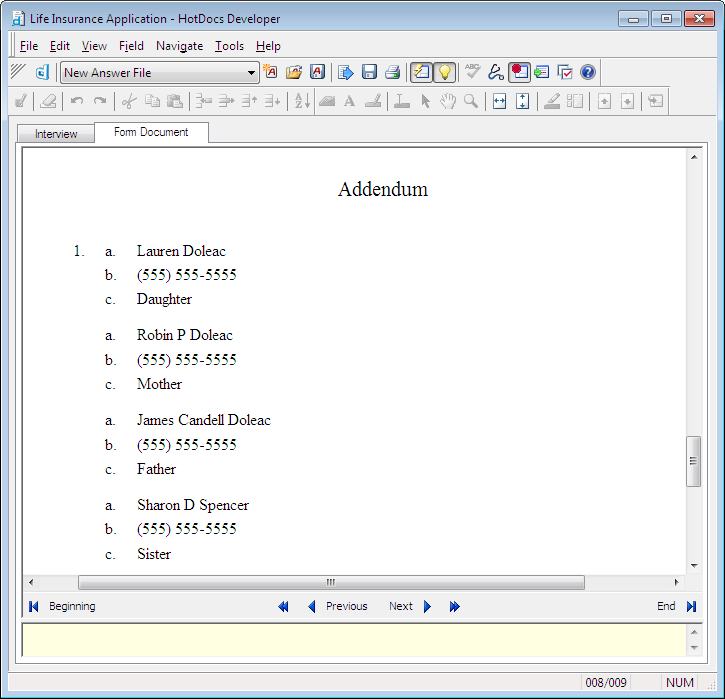
10. Click the scroll bar on the right side of the assembly window and scroll down to the addendum page. The answers from the continuation table are listed.
11. Choose Close (File menu) to close the test assembly window and return to the template, and then choose Exit (File menu) to close the template and HotDocs Automator.
Conclusion
You are now finished with this lesson. In it, you learned how to create a default interview. Then you test assembled your template and learned about answer overflow—what happens when answers do not fit in the answer fields.
Your life insurance application template is now complete, and you are finished with the HotDocs Automator tutorial. For additional information on using HotDocs Automator, please refer to the HotDocs Help.