Lesson 1: Create an ADO Connection String
Overview
The Collection Letter template you are using in this tutorial has already been automated. It uses variables that ask information about the client and any invoices the client may have. You could assemble the document as it is now and provide this information by manually entering it. However, using a database component, you can retrieve the answers you already know from a database.
Before you can do this, you must define the association between your template and the database by first creating a database component and then by linking the database component to the database file. You will do this using an ADO connection string.
In this lesson, you will link a Microsoft Access database (Tutorial.mdb) to the Collection Letter template. This database file contains two tables, CLIENT and INVOICE. You will retrieve data from both of these tables in your template.
If you don’t have Microsoft Access installed, HotDocs can still retrieve data from the database file using the Microsoft Jet 4.0 OLE DB Provider, which was automatically installed with HotDocs.
Open the Tutorial Library
To open the tutorial library and add the Collection Letter to it
- Choose HotDocs 11 > HotDocs Developerfrom Programs on the Start menu. The My Test Templates library appears.
If the My Test Templates library does not appear, choose Open Library (File menu), select the library in the default Libraries folder (for example, My Test Templates.hdl), and click Open.
- Click the top folder in the library and click the Add Item button. The Add Item dialog box appears.
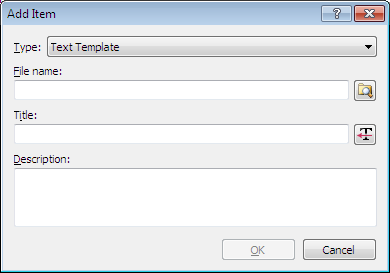
- Click the
 Browse button next to the File name box. The Add Item File Name dialog box appears.
 - In the list of templates, select Collection Letter.docx or Collection Letter.wpt, depending on which word processor you are using.
- Click OK. You are returned to the Add Item dialog box.
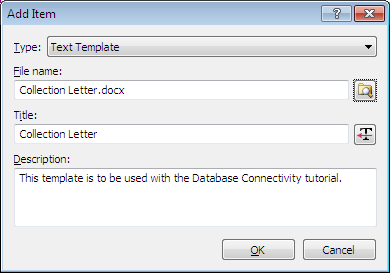
- Click OK. The template is added.
Create a Database Component
In order to create the connection, you must first create the database component that will store the connection information.
To create a database component
- At the template library, select Collection Letter and click
 Edit. The template appears, ready for you to edit.

You can have HotDocs arrange the template and Component Manager windows so you can view both simultaneously. To do this, adjust Component Manager to the width you want and click the
 Arrange Windows button in the Component Manager toolbar.
 - Click the
 Component Manager button in the HotDocs toolbar of the word processor. The Component Manager window appears.
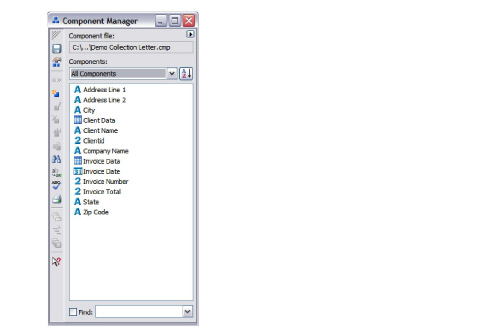
- Click the Components drop-down button and select Databases from the list. The list changes to show only database components. (Because you have not yet created any database components, this list is empty.)
- Click the
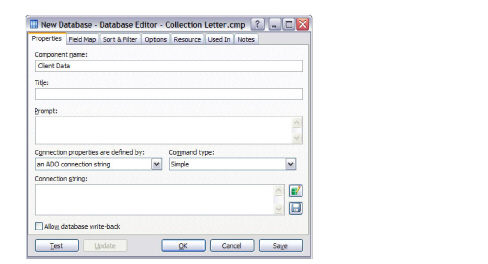
 New Component button. The Database Editor appears.
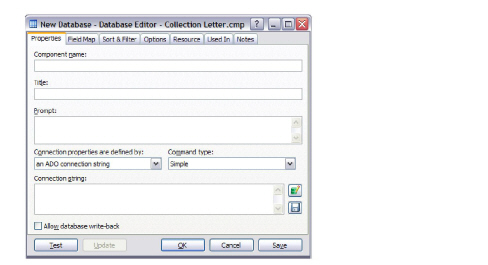
- Type Client Data in the Component name box.
Now that you have created the database component and assigned a name to it, you must define a connection string, which contains the information HotDocs needs to connect to the database.
Define the ADO Connection String
ADO stands for ActiveX Data Objects. It is a data presentation layer that lets HotDocs communicate with a database so HotDocs can retrieve data from it and use it to assemble a document.
An ADO connection string defines the relationship HotDocs has to the database. It contains information about the OLE DB provider, the location of the actual database file, the name of the table from which you will be retrieving data, and any other information about the connection HotDocs needs to know to maintain its relationship with the database.
You can use a simple wizard to help you define the connection string.
To build the ADO connection string
- With the Database Editor displayed, make sure an ADO connection string is selected at the Connection properties are defined by drop-down list.
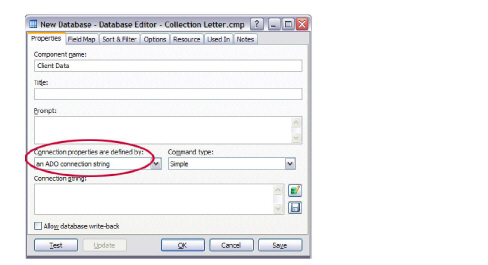
- Click the
 Edit button next to the Connection string box. The Data Link Properties dialog box appears.
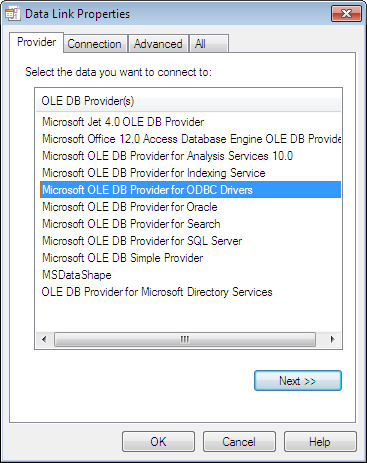
- Select Microsoft Jet 4.0 OLE DB Provider from the list of providers and click Next. HotDocs displays the Connection tab of the Data Link Properties dialog box.
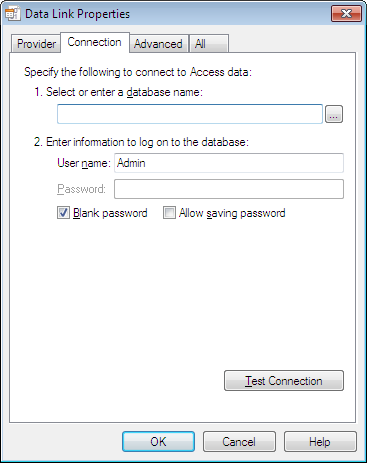
- Click the
 Browse button next to the Database name box and locate the database file, TUTORIAL.mdb. (This file should be located in the default Templates folder, for example, C:\Users\UserName\Documents\HotDocs\Tutorials\DOCX.)
 - Click Open. The Data Link Properties dialog box appears again.
- Click OK. The Database Editor appears again, showing the ADO connection string that will link your template to the database.

- Click the Field Map tab.
- Click the Table name drop-down button and select CLIENT. The fields from the CLIENT table appear in the Field Name column.
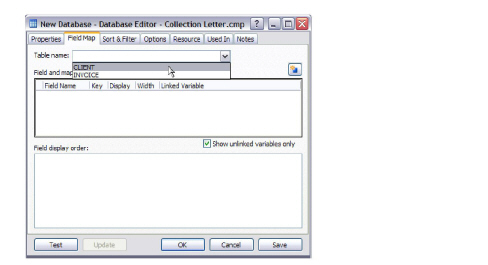
- Click OK.
HotDocs creates an association between the template file and the database, particularly the CLIENT database table.
In Lesson 2 you will link fields in this table to variables in the template.
On Your Own
Create a second database component using an ADO connection string. Follow the instructions in both Create a Database Component and Define the ADO Connection String. Name this component Invoice Data, and use the same database file, TUTORIAL.mdb. When selecting the database table at the Field Map tab, choose INVOICE.
Once you have created the second database component and defined its connection string, you are now ready to link variables in your template to fields in these two database tables. You will do this in Lesson 2.
Conclusion
You are now finished with this lesson. In it, you learned how to create a database component and link it to a specific table in a database file.
If you do not want to go on to Lesson 2 at this time, close Component Manager (by clicking the X in the upper-right corner of the Component Manager window), and then click the ![]() Save and Close button to close the template. Then exit HotDocs.
Save and Close button to close the template. Then exit HotDocs.
If you are continuing on to Lesson 2, click the ![]() Save button in the template to save your work.
Save button in the template to save your work.