Lesson 1: Assemble a Document
Overview
Before you learn how to automate a template, it is a good idea to see how an already-automated template is used to assemble a custom document.
There are two types of templates with which you work in HotDocs—text templates and form templates:
- Text templates are automated in a word processor, such as Microsoft Word or WordPerfect. As you automate a text template, you indicate in the text where users’ answers should be merged. When you assemble a text document, you save the document as a regular word processor file. You have all of the editing capabilities that are included with word processor files.
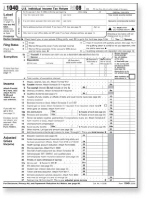
- Form templates use a Windows program (such as a form design program) to create a static form, or one in which the user will not be able to change or modify the underlying text. Once designed, you then use HotDocs to create a PDF version of the form. Finally, you use HotDocs Automator to place fill-in fields on the form where users’ answers will be inserted. (An IRS form is a good example of a form.) When you assemble a form document, you can view the assembled document in either HotDocs Filler or a PDF viewer. You will assemble and automate a form template in Chapter 2.
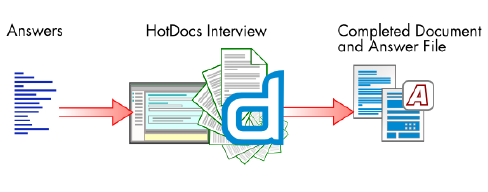
When you use HotDocs to assemble a document, HotDocs presents a series of questions you must answer in an interview. Your answers are then merged into the assembled document. Once all of the answers are provided and you have verified that the document is correct, you can print the document or save it to disk. You also can save the answers you’ve provided in an answer file, which you can reuse to assemble other documents.
The following diagram shows the assembly process:
Start HotDocs and View a Template Library
To start the tutorial, you must first open the HotDocs template library.
A template library allows you to manage a collection of template files associated with a specific project or area of business. Using the tools available in the library, you can edit templates, assemble documents, and access other HotDocs tools, such as Answer File Manager, HotDocs Options, and Component Manager. Items referenced in a template library act as shortcuts to the actual files on disk.
To start HotDocs
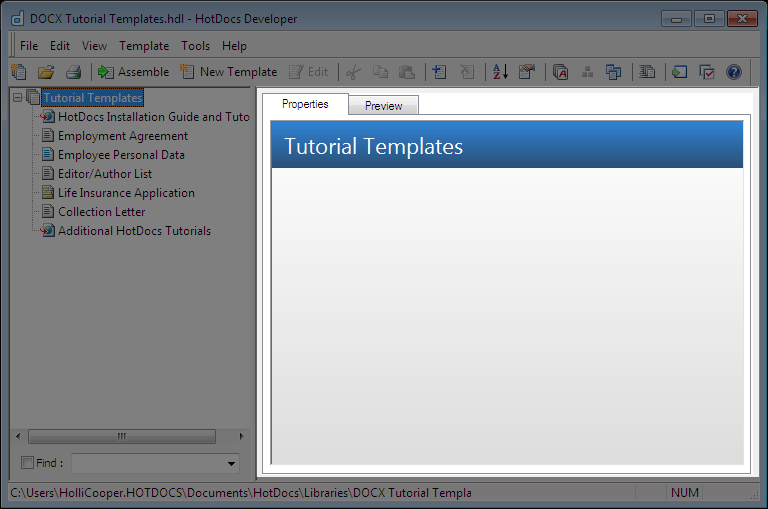
- Choose Start > Programs > HotDocs 11 > HotDocsDeveloper. The Tutorial Templates library appears.
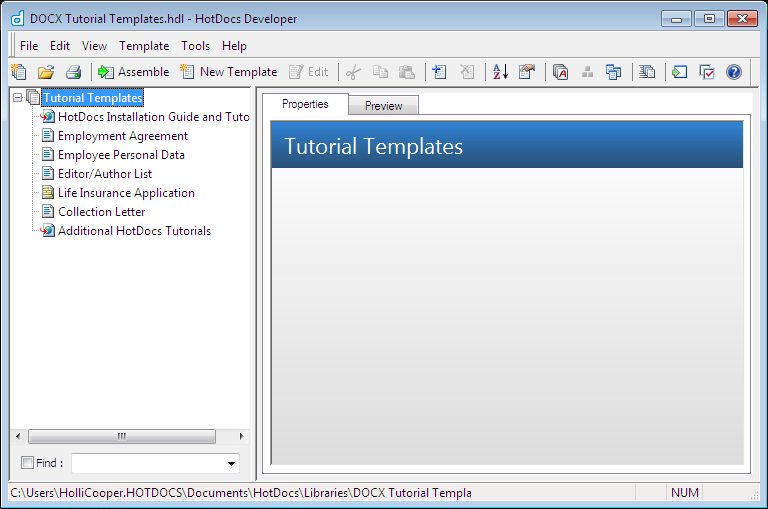
If the Tutorial Templates library does not appear, choose Open Library (File menu), select the library for your word processor in the default Tutorials folder (for example, DOCX Tutorial Templates.hdl), and click Open.
The items you see in the left pane are not the actual HotDocs files on your local disk or network. Instead, they are references to the files, operating similar to Windows-type shortcuts. When you select an item for assembly, HotDocs follows the assigned file path to locate the actual template and then opens it.
This Tutorial Templates library you are viewing includes fully automated versions of the templates you will automate throughout this tutorial. You may refer to these templates for help as you complete the different lessons in the tutorial.
The template library is divided into two main panes. The left pane shows a list of the items referenced in the library. These items can include folders, templates, clause libraries, or other files.
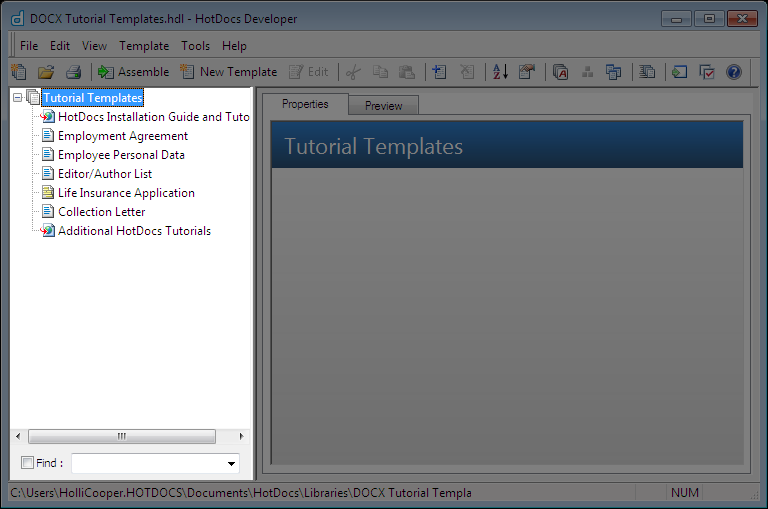
The right pane displays two tabs of information about the selected item. If you click the Properties tab, you can see the properties of the selected file. If you click the Preview tab, you can preview the template’s contents.
Assemble a Custom Document
Once you have opened the tutorial library, you can select a template for assembly.
Each time you use a template to assemble a document, HotDocs displays a series of dialogs that prompt you to provide variable information, or information that changes for whomever the document is being created. (Examples of variables include names, dates, and instructions for conditional paragraphs).
Once you have entered the information the document requires, HotDocs merges your answers and carries out your instructions to produce a finished document. The document can then be printed, saved, or edited further.
To see how a HotDocs template produces a complete document, you will assemble an Employment Agreement. (You will automate your own copy of this template later in this tutorial.)
To assemble the Employment Agreement document
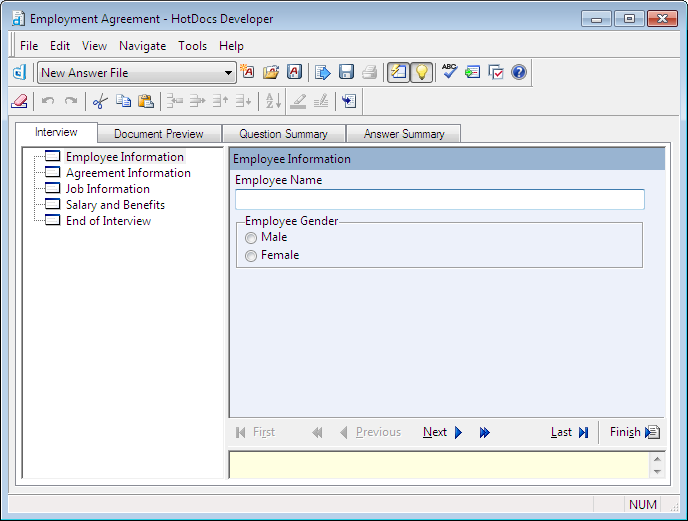
You see a list of dialogs (or groups of questions) in the left pane of the window. These dialogs comprise the interview outline. When you click one of these dialogs, HotDocs displays the associated questions and answer fields in the right pane, or dialog pane.
To enter dates, you can type the date directly in the answer field, or you can click the ![]() Calendar icon to the right of the answer field and choose a date there.
Calendar icon to the right of the answer field and choose a date there.
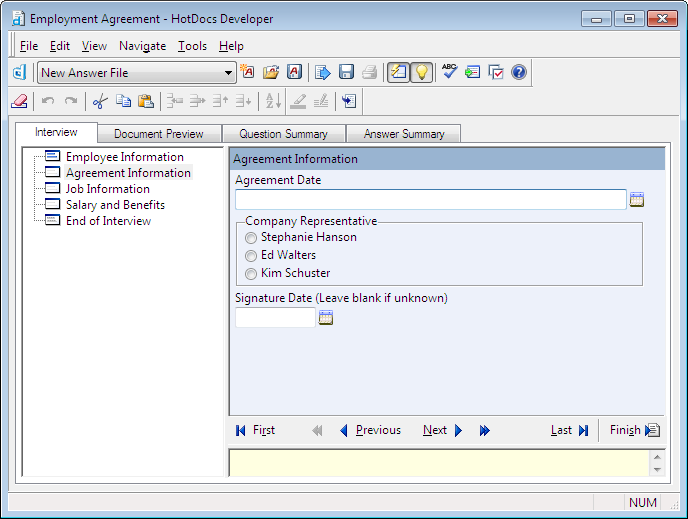
As you proceed through the interview, dialog icons in the interview outline change appearance, indicating whether the questions in the dialog are unanswered (![]() ), partially answered (
), partially answered (![]() ), or completely answered (
), or completely answered (![]() ).
).
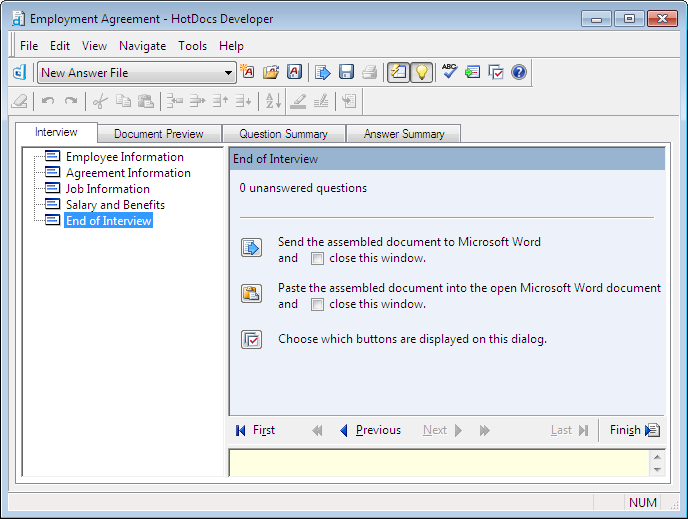
The End of Interview dialog gives you options for working with the assembled document. For example, you can send a copy of the assembled document to the word processor.
- From the template list, select Employment Agreement and click
 Assemble. The Answer File dialog box appears.
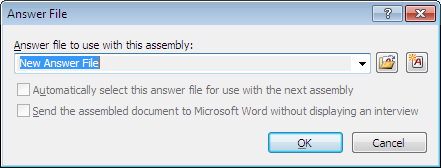
The Answer File dialog box shows a new, untitled answer file as the answer file that will be used with this assembly. This file does not yet contain any answers.
As you assemble documents, you can save your answers in an answer file, which can then be reused if you reassemble this document or if you assemble other documents that require similar information.
- Click OK to continue. HotDocs displays the interview.
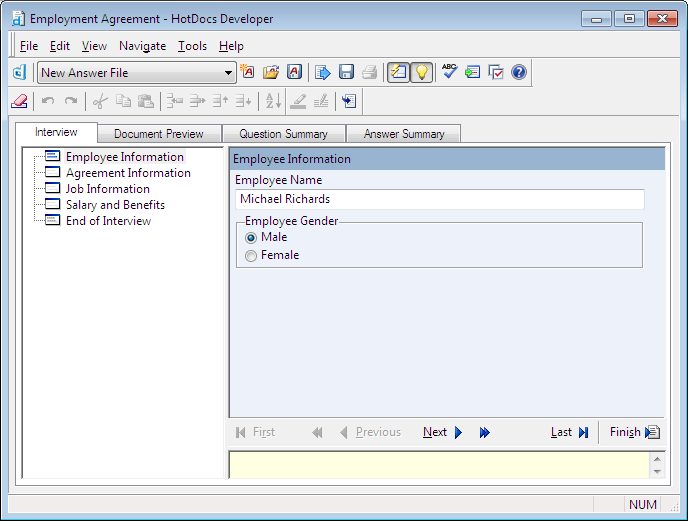
- At the first dialog, Employee Information, type a name in the Employee Name answer field.
- Answer the Employee Gender question.
- Click
 Next (or press Page Down) to advance to the next dialog, Agreement Information.
 - Answer questions in the dialog and click
 Next to move to the next dialog in the interview outline.
 - Continue answering questions in the interview, clicking
 Next to move to new dialogs.
 - After the last dialog, the End of Interview dialog appears.
Preview the Assembled Document
Once an assembled text document is sent to the word processor, the document is no longer associated with HotDocs. This means that if you change any text in the document, including any text that was merged because of answers you entered during the interview, the changes are only reflected in that document—not the template or the answer file. Because of this, you should always review assembled documents for accuracy before sending them to the word processor.
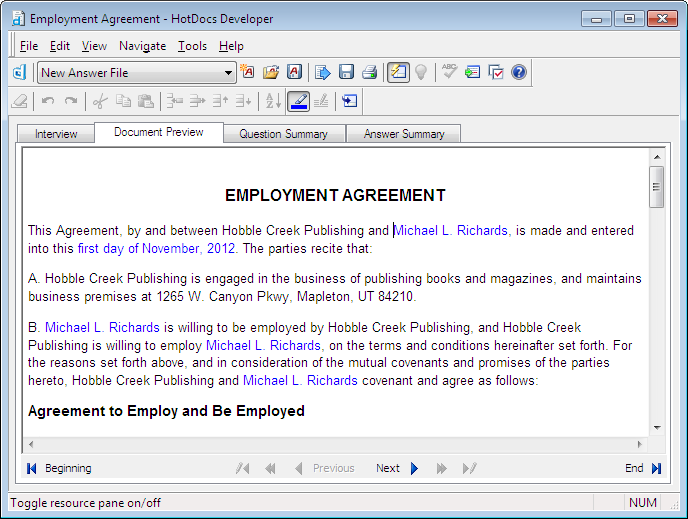
You can review a copy of the assembled employment agreement at the Document Preview tab of the HotDocs assembly window.
To preview the assembled document
- At the assembly window, click the Document Preview tab. The assembled document appears.
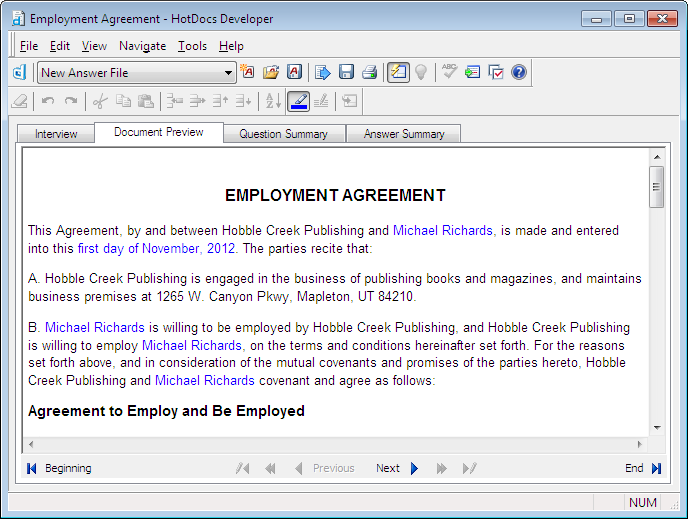
The Document Preview tab shows all of the answers you entered during the interview merged into the document.
Because of technical restrictions, HotDocs cannot display the actual word processor document. Instead, it uses a third-party application to render the text of the template or document in RTF format. This means that Word templates or documents are previewed fairly accurately because they are in a format that can be displayed in RTF. Some of the formatting may be different, but, for the most part, it is a good representation. However, because WordPerfect text can't be converted to RTF at the time the document is displayed, the application is only able to display the text in plain format. In either case, however, the actual text in the template or document is correct. And, once you send the assembled document to the word processor, the document will appear exactly as designed.
Edit Answers at the Document Preview Tab (Word Users)
If you are using Microsoft Word, you can change answers while viewing the Document Preview tab. When you edit an answer, any other questions affected by the answer are likewise updated.
If you are using WordPerfect, skip to Send the Assembled Document to the Word Processor.
To edit an answer in the document
You can also right-click the answer and choose Edit Answer from the shortcut menu.
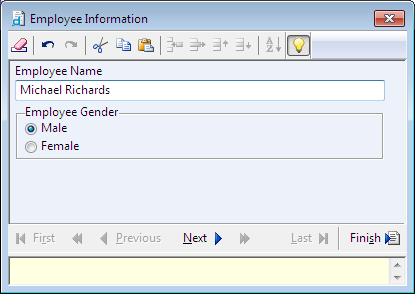
- If answers aren’t already highlighted (or marked as blue) in the document, click the
 Highlight Answers button in the assembly window toolbar.
 - In the first paragraph of the document, double-click the answer for the employee’s name. The Employee Information dialog appears in a pop-up interview.
- Change the answer in the Employee Name field.
- Click
 Finish. The pop-up interview closes and all references to the employee’s name are updated with your new answer.
Send the Assembled Document to the Word Processor
Now that you have completed the interview and previewed the assembled document, you can send a copy of it to your word processor.
To send the document to the word processor
- At the assembly window toolbar, click the
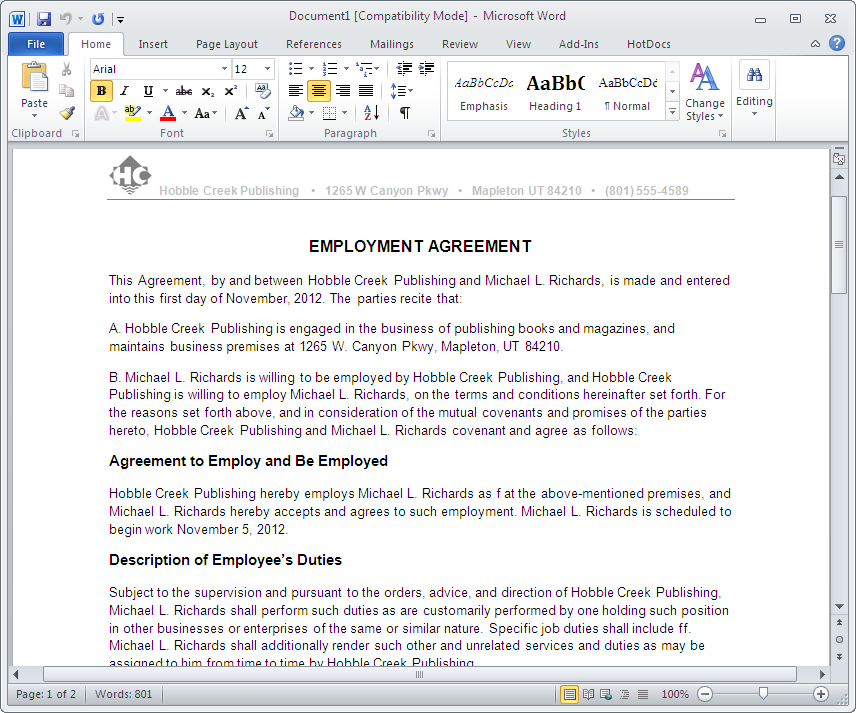
 Send Document to Word Processor button. HotDocs opens the word processor and displays the complete document.
When the document is in the word processor, you can print, save, or edit it. For the purposes of this tutorial, however, you will simply view the document and then close the word processor without saving the document.
- Close the word processor document. Do not save it.
- At the HotDocs assembly window, choose Close (File menu). When HotDocs prompts you, don’t save your answers or a copy of the assembled document.
You are now finished with this lesson. In it, you learned how to assemble a text document. You also learned how to preview the assembled document before sending it to the word processor.
In the next lesson, you will begin automating your own version of the employment agreement.
If you are not continuing on to Lesson 2, close HotDocs by choosing Exit from the template library File menu.
Conclusion
You are now finished with this lesson. In it, you learned how to assemble a document from a HotDocs template.
In Lesson 2, you will create a new library.
If you are not continuing on to Lesson 2 at this time, close HotDocs by choosing Exit from the template library File menu.