Lesson 2: Create a New Template Library
Overview
When you start HotDocs, the template library appears. It is from this window that you begin most tasks in HotDocs, such as creating templates, choosing templates for assembly, and so forth.
By default, template libraries are created and saved in the Documents\HotDocs\Libraries folder. You can change the default folder at HotDocs Options.
The template library itself represents a collection of files you use to create custom documents for your clients. This collection can include text templates, form templates, clause libraries, word processor documents, HTML pages, and PDF documents.
When working with a template library, you should understand that files listed in a library act like shortcuts to the actual files on disk. This “virtual” organization of files provides an easy way to organize and manage the files you use in your practice or business. For example, even though template files can all be saved to the same common folder on disk, within the library, you can organize them into unique folders. Say you are creating an estate planning library. You can create three separate folders in the library, like Wills, Trusts, and Other Documents.
Template libraries have an .HDL file name extension.
Start the Tutorial
If you are continuing immediately from Lesson 1, skip the instructions for starting HotDocs and proceed to “Create a New Template Library.”
If you closed HotDocs at the end of Lesson 1, complete the following steps.
To start HotDocs
- Choose Start > Programs > HotDocs 11 > HotDocsDeveloper. The Tutorial Templates library appears.
If the Tutorial Templates library does not appear, choose Open Library (File menu), select the library for your word processor in the default Tutorials folder (for example, DOCX Tutorial Templates.hdl), and click Open.
Create a New Template Library
You will create a new template library to organize the templates you
will automate throughout this tutorial. (If you ever need to refer back
to this tutorial library, simply open it using the ![]() Open Library command.)
Open Library command.)
To create a new library
- At the existing template library, click the
 New Library button. The New Library dialog box appears.
 - In the File name box, enter My Test Templates. This is the name of the file that will be saved on disk.
- Click in the Title box. HotDocs suggests My Test Templates as the title. This is correct.
- In the Description box, type These are the templates I automated while learning how to use HotDocs.
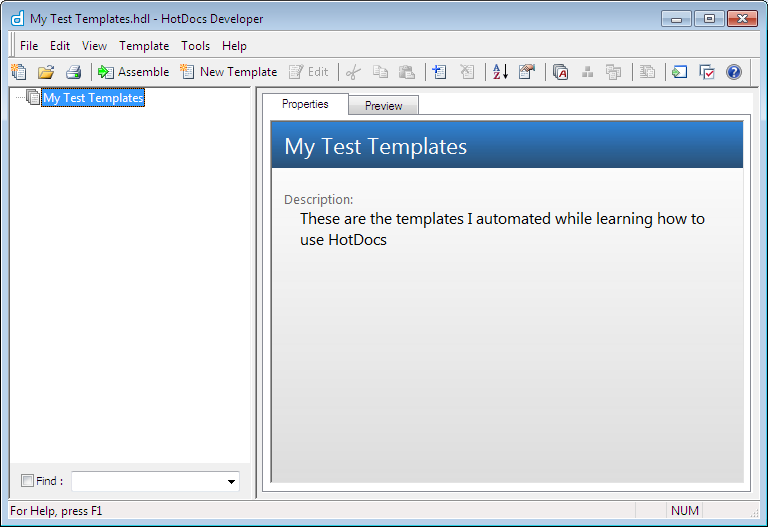
- Click OK. The Tutorial Templates library is closed and the new library is created.
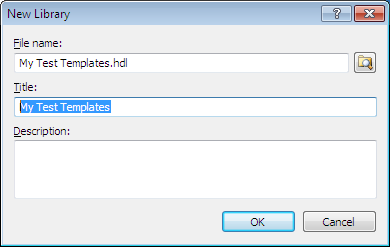
The title is a required property that is used to identify the library. It is assigned to the top folder in the library.
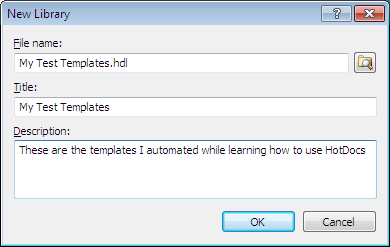
The Description is an optional property that can provide additional information about the library. It appears in the Properties tab of the library.
In the next part of this lesson, you will add templates to the library list.
Add Existing Templates to the Template Library
During this tutorial, you will use three different templates. You will add two of these templates, which have already been created for you, to the test library now. (The third template you will create in the next lesson.)
To add a template to the library
- Click on the top folder (My Test Templates) in the library.
- Click the
 Add
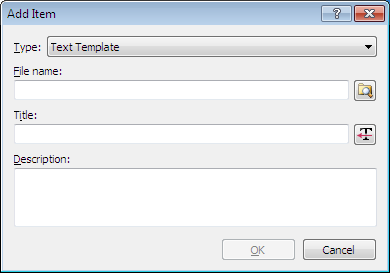
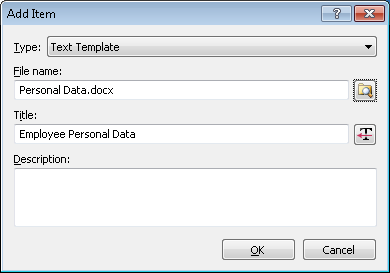
Item button. The Add
Item dialog box appears.
 - Click the
 Browse button
next to the File name box.
The Add Item File Name dialog
box appears.
 - Select Personal Data.docx (Word users) or Personal Data.wpt (WordPerfect users) and click OK. You are returned to the Add Item dialog box.
- Click OK. The file is added to the library.
These files are found in your default Templatesfolder, which is Documents\HotDocs\Templates by default.
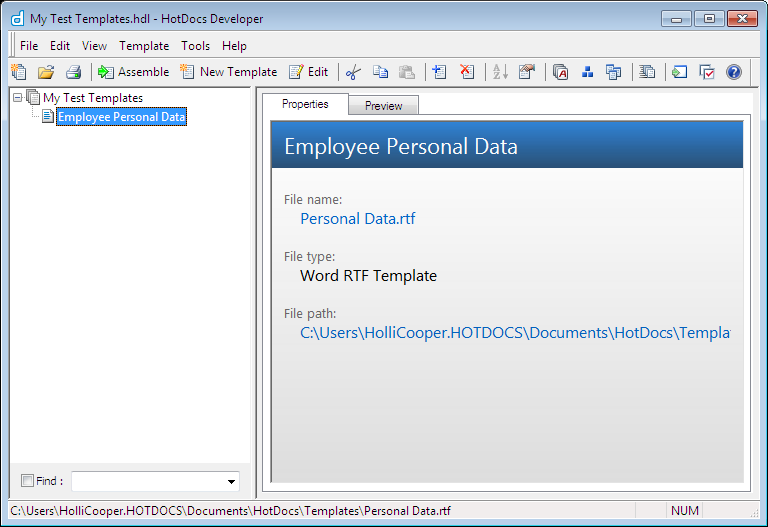
If you need to move a file in the list to a different location, you can click it and drag it up or down in the list. The horizontal bar that appears indicates where the file will be placed when you release the mouse button.
You will automate this template later in this tutorial.
On Your Own
Add the template Editor List.docx or Editor List.wpt to the library. Follow the instructions in the previous section if you do not remember how to do this.
In the next lesson, you will create a new template and add it to the library.
Conclusion
You are now finished with this lesson. In it, you learned how to create a new template library. You also learned how to add existing templates to a library.
In Lesson 3, you will create a new template.
If you are not continuing on to Lesson 3 at this time, close HotDocs by choosing Exit from the template library File menu.