Lesson 14: Change the Placement of Variables in the Dialog
Overview
When you create a custom dialog, each variable you add to the dialog is placed on its own line in the dialog. Sometimes, however, it makes more sense to place two or three variables, side by side, on the same line.
In this lesson, you will visually arrange variables in a dialog that is used in the Employee Personal Data template.
Start the Tutorial
If you are continuing immediately from Lesson 13, skip the instructions for opening the template and proceed to “Test the Dialog to See How Variables Are Arranged.”
If you closed the template at the end of Lesson 13, complete the following steps.
To open the tutorial template
- Open your word processor and click the
 HotDocs button, located on
your word processor’s toolbar. The My
Test Templates library appears.
HotDocs button, located on
your word processor’s toolbar. The My
Test Templates library appears.
If the My Test Templates library does not appear, choose Open Library (File menu), select the library in the default Libraries folder (for example, My Test Templates.hdl), and click Open.
- Select Employment Agreement and
click
 Edit.
The template appears, ready for you to edit.
Edit.
The template appears, ready for you to edit.
- Open Component Manager and edit the Personal Data dialog.
Test the Dialog to See How Variables Are Arranged
By default, HotDocs places each variable in a dialog on its own line.
To test the dialog
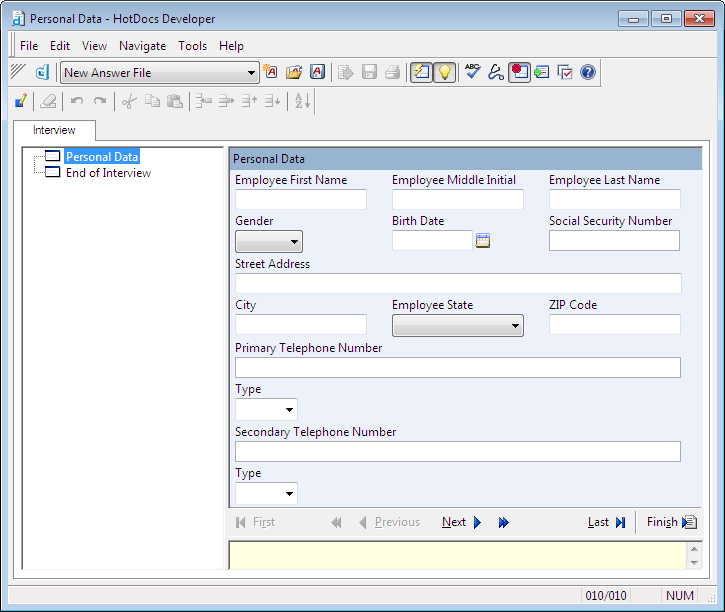
- At the Dialog Editor, click Test. A test assembly window appears.
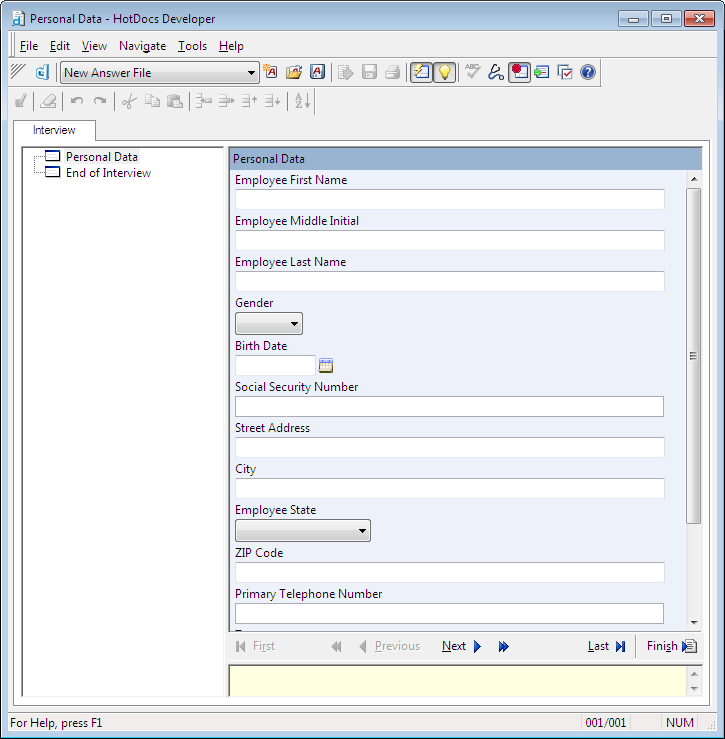
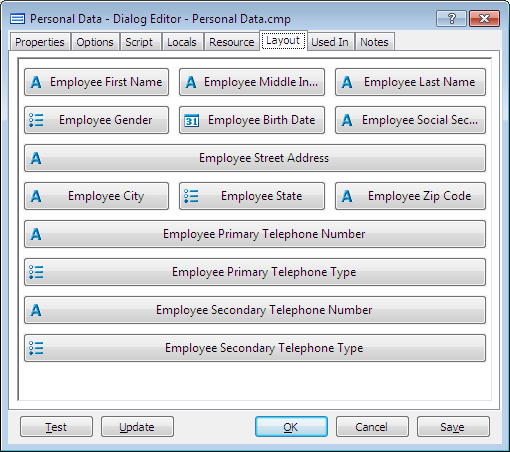
Each answer field appears on its own line. However, to better organize the variables, you want Employee First Name, Employee Middle Initial, and Employee Last Name to be side by side on the same line.
Place Answer Fields on the Same Line in a Dialog
You can use the Dialog Editor to change the layout of a dialog.
To change the layout of a dialog
- In the interview outline of the test assembly window, click the Personal Data dialog icon and click the
 Edit Component button. The Dialog Editor comes to the front.
 - Click the Layout tab. The window changes to show icons for each variable in the dialog.
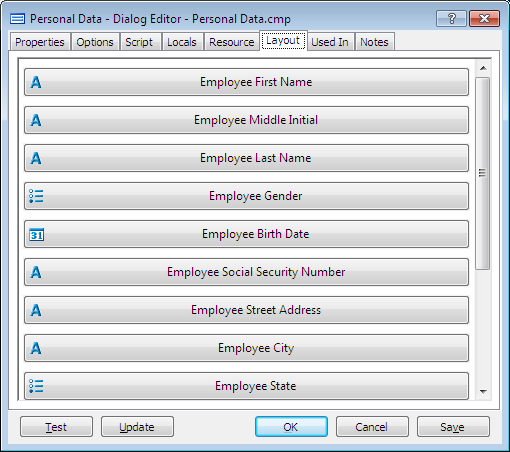
- Click on the Employee Middle Initial icon and drag it to the right of the Employee First Name icon.
As you are dragging the variable to its new location, you see horizontal and vertical lines, indicating where the variable will be placed when you release the mouse button.
- When you see a vertical line to the right of the Employee First Name icon, release the mouse button. HotDocs places the two variable icons on the same line.
When you do this, you will notice that the test assembly window automatically updates to show the new placement of the variable.
On Your Own
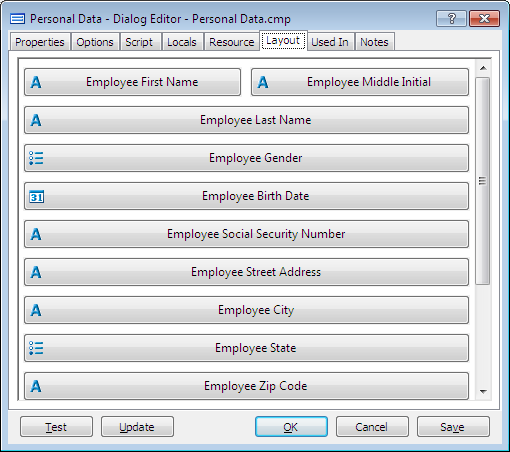
At the Dialog Editor, drag Employee Last Name to the same line as Employee First Name and Employee Middle Initial. (It should appear after the Employee Middle Initial.) Follow the instructions for moving Employee Middle Initial.
Repeat this process for two more groups of variables:
- Place Employee Gender, Employee Birth Date, and Employee Social Security Number on the same line.
- Place Employee City, Employee State, and Employee Zip Code on the same line.
When you are finished, click Update to view the test assembly window again. The variables are arranged in the dialog.
Change a Variable’s Width
You can place two variables on the same line and make one of the variables wider than the other.
To change the width of a variable field
- Bring the Dialog Editor to the front. (Select the dialog in the interview outline and click the
 Edit Component button.)
 - At the Layout tab, drag Employee Primary Telephone Type to the right of Employee Primary Telephone Number.
- Right-click on Employee Primary Telephone Number. A shortcut menu appears.
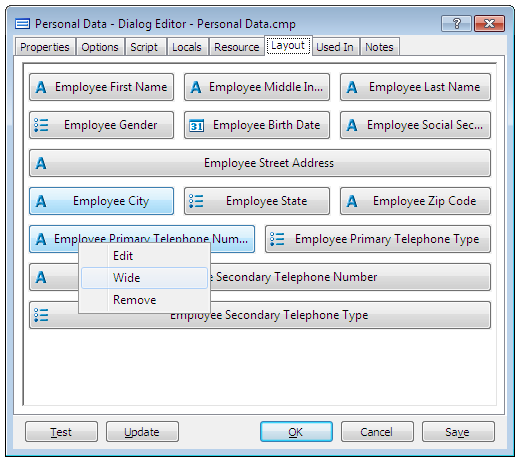
- Select Wide.
- Click Update. The test assembly window appears and the variables appear on the same line. The first field is wider than the second.

On Your Own
At the Dialog Editor, move the Employee Secondary Telephone Type to the same line as Employee Secondary Telephone Number. Make Employee Secondary Telephone Number the wide variable.
See the previous section if you do not remember how to do this.
When you are finished, close the test assembly window. Then click OK at the Dialog Editor and close Component Manager.
Conclusion
You are now finished with this lesson. In it, you learned how to place variables together on a single line in the dialog.
If you do not want to go on to Lesson 15 at this time, click the HotDocs ![]() Save and Close button to close the template. Then exit HotDocs.
Save and Close button to close the template. Then exit HotDocs.