Lesson 1: Assemble a Form Document
Overview
Before you learn how to automate a form template, it is a good idea to see how a form template is used to assemble a custom form document. Because the assembly process for form documents is similar to that of text documents, this lesson will focus on the areas that are different. (Refer to Lesson 1: Assemble a Document to see how to assemble a text document.)
Open the Tutorial Templates Library
You will first open the Tutorial Templates library, which you used at the beginning of the HotDocs Developer tutorial. This library includes automated versions of the templates you will look at throughout the HotDocs Automator tutorials. You may refer to these templates for help as you complete the different lessons in the tutorial.
The Tutorial Templates library file is located in the My Documents\HotDocs\Tutorials folder.
To open the Tutorial Templates library
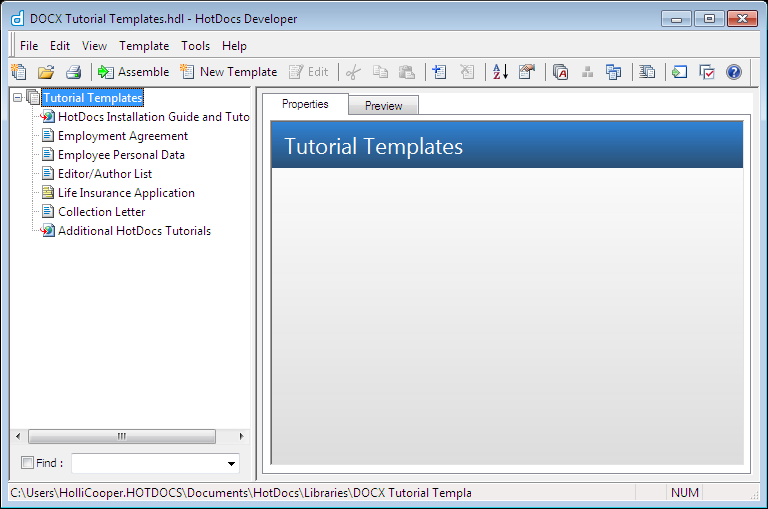
- Open HotDocs Developer (choose Start > Programs > HotDocs 11 > HotDocs Developer). The HotDocs library window appears.
- If the Tutorial Templates library is not open, choose Open Library (File menu), select the library for your word processor in the default Tutorials folder (for example, DOCX Tutorial Templates.hdl), and click Open. The library appears.
Assemble a Form Document
To see how a HotDocs form template produces a complete document, you will assemble the Life Insurance Application. (You will automate your own copy of this form later in this tutorial.)
To assemble the Life Insurance Application
- From the template list, select Life Insurance Application and click
 Assemble. The Answer File dialog box appears.

The Answer File dialog box shows a new, untitled answer file as the answer file that will be used with this assembly. This file does not yet contain any answers.
If you select an answer file you used while assembling documents in the HotDocs tutorial, you may notice that some of those answers appear in this interview. This happens because the templates have some variable names in common.
- Click OK to continue. HotDocs displays the interview.
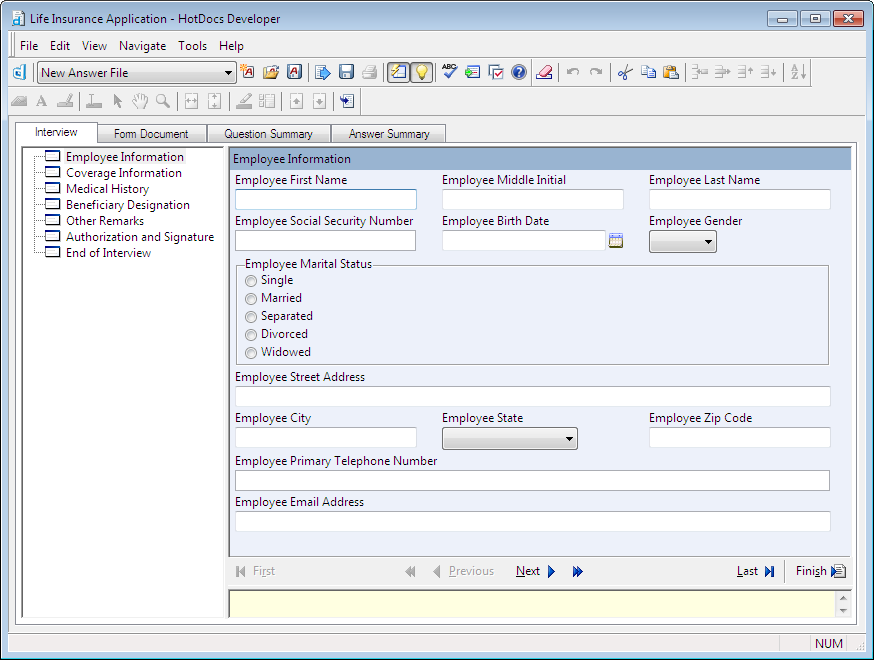
You see a list of dialogs (or groups of questions) in the left pane of the window. These dialogs create the interview outline. When you click one of these dialogs, HotDocs displays the associated questions and answer fields in the right pane, or dialog pane.
- Answer each of the questions in the interview, clicking Next to move between each dialog.
The End of Interview dialog appears as the last dialog in the interview. It indicates how many questions were left unanswered, and shows you some common tasks you can complete after finishing the interview. (If you left questions unanswered, click ![]() Go to the first unanswered question in the interview to return to the interview and answer them.)
Go to the first unanswered question in the interview to return to the interview and answer them.)
Preview the Assembled Form Document
You can preview the assembled life insurance application while at the HotDocs assembly window.
You should always review your assembled documents for accuracy before sending them to HotDocs Filler or saving them to disk. This is because once an assembled form document is saved or sent to HotDocs Filler, the answer fields are no longer associated with HotDocs variables or an answer file. This means that if you change any answers in the form, the changes are only reflected in that document—not the template or the answer file.
To preview the assembled document
- At the assembly window, click the Form Document tab. The assembled document appears.
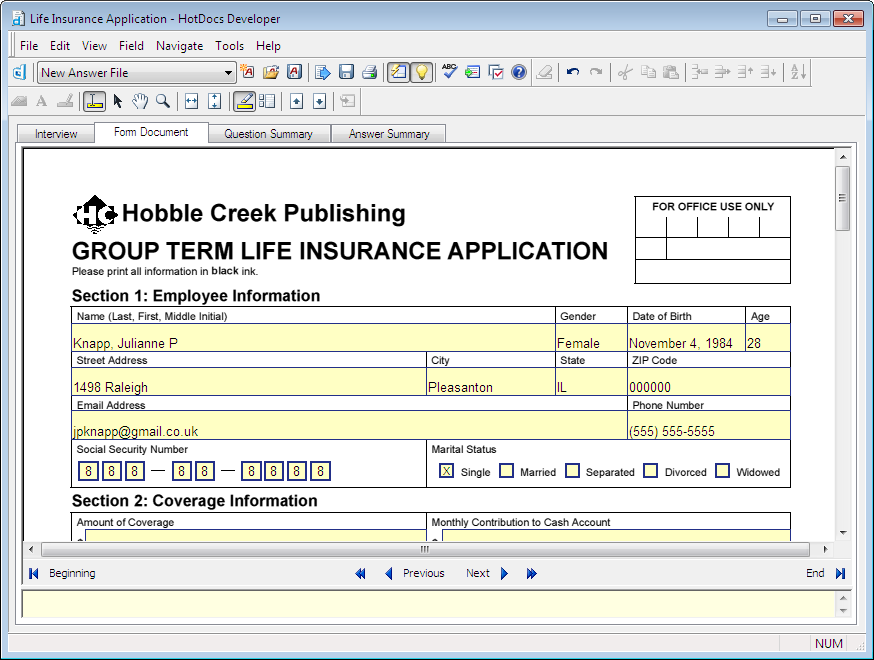
The Form Document tab shows all of the answers you entered during the interview merged into answer fields in the document. It is similar to the Document Preview tab for text documents.
Enter Answers at the Form Document Tab
You can enter or change answers at the Form Document tab, and the answers you enter are saved in the answer file just as they are when you enter the answers in the interview.
Some users prefer entering answers at the Form Document tab to entering answers in the Interview dialogs. Also, some form documents do not even have an interview, thus requiring direct-fill assembly where all answers are entered at the Form Document tab.
To directly fill or change answers at the Form Document tab
To move to a previous field using the keyboard, press Shift+Tab.
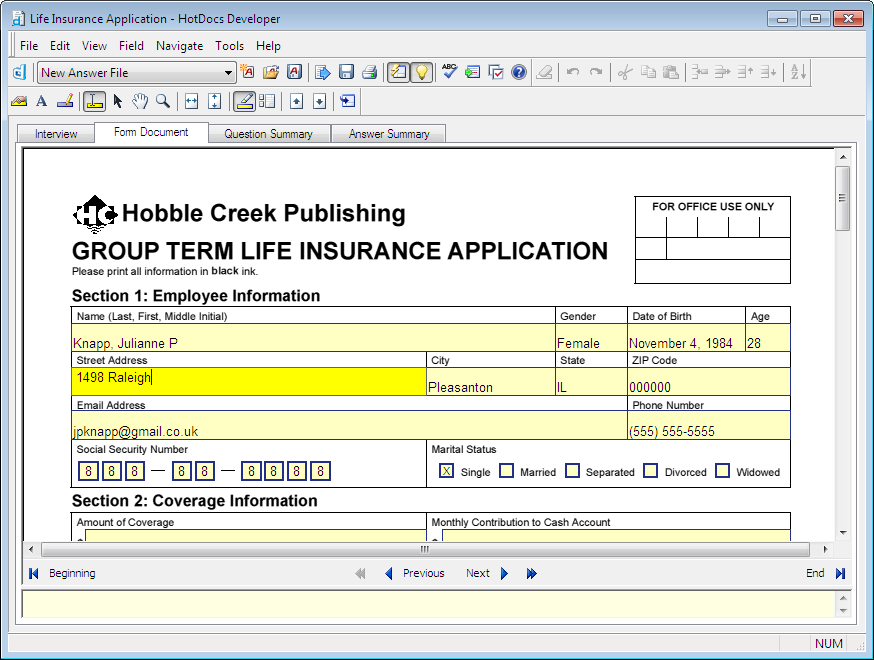
- Click the Street Address field. HotDocs places a cursor in the field, which allows you to type or change the employee’s street address.
- Press the Tab key to move to the City field, where you can enter the employee’s city.
- Continue tabbing through each field, entering or changing answers as desired.
Some fields require a different kind of answer. In the following fields, you’ll need to do something besides enter a standard text, date, or number answer:
| Field | Do This |
| Name | Click the |
| Age | Answer the date of birth and then tab to this field. HotDocs automatically calculates the employee’s age and merges it into the field. |
| Gender and State | Click the drop-down button and select an answer. |
| Marital Status and Authorization check boxes | Click the check box, or press the space bar to select the check box. |
| Medical History Yes/No fields | Click the Yes or No field for each question. HotDocs circles the selected response. |
| Health explanations | Click Yes to activate the field before you type. |
Save Your Answers in an Answer File
When you assemble a document, you can save the answers you enter in an answer file, which can then be used later to recreate the same document or assemble other documents that require the same information. This eliminates the need to re-enter information you’ve already provided.
To save your answers
- Click the
 Save Answers button. The Save Answer File dialog box appears.

- Enter My Tutorial Answers in the File name box.
- Click in the Title box and accept the suggested title, My Tutorial Answers.
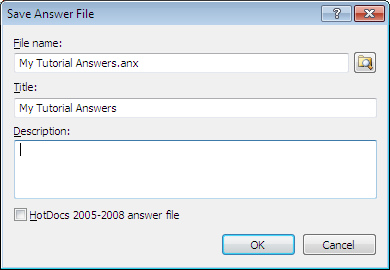
- Click OK. The answers are saved in the answer file.
Save or Print the Assembled Document
Now that you have completed the interview and previewed the assembled document, you can save or print it.
You will not print the document in this tutorial. However, if you want to print it, click the ![]() Print Document button and follow the prompts.
Print Document button and follow the prompts.
When you save an assembled form document, you have several options. If you want to edit the saved document at a later time using HotDocs Filler, you can save it as a HotDocs PDF (.hpd) document or a HotDocs Form (.hfd) document. Otherwise, if you want the assembled document to be static—where the answer fields cannot be modified—you can save it as a PDF (.pdf) form.
You can only save documents in one of the PDF formats (.pdf, .hpd). Also, only Envoy-based (.hft) templates can be saved as HotDocs Form (.hfd) documents.
To save the assembled document
- Click the
 Save Document button. The Save As dialog box appears.
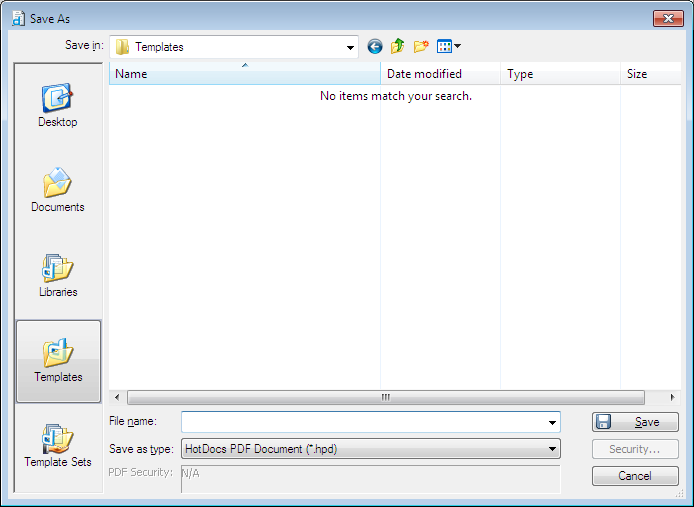
The Save As dialog box displays the folder where you will save the document, which is your My Documents folder by default. If you want to save the document in a different location, use the dialog’s navigation buttons to open the desired folder.
- From the Save as type drop-down list, select HotDocs Form Document (*.hpd).
- Enter My Assembled Form Document in the File name box, and then click Save. The document is saved.
Send the Assembled Document to HotDocs Filler
In addition to saving and printing the assembled document, you can also send it to HotDocs Filler for viewing, saving, or printing.
To send the document to HotDocs Filler
- Click the
 Send Document to HotDocs Filler button in the assembly window toolbar. HotDocs opens the form document in HotDocs Filler.
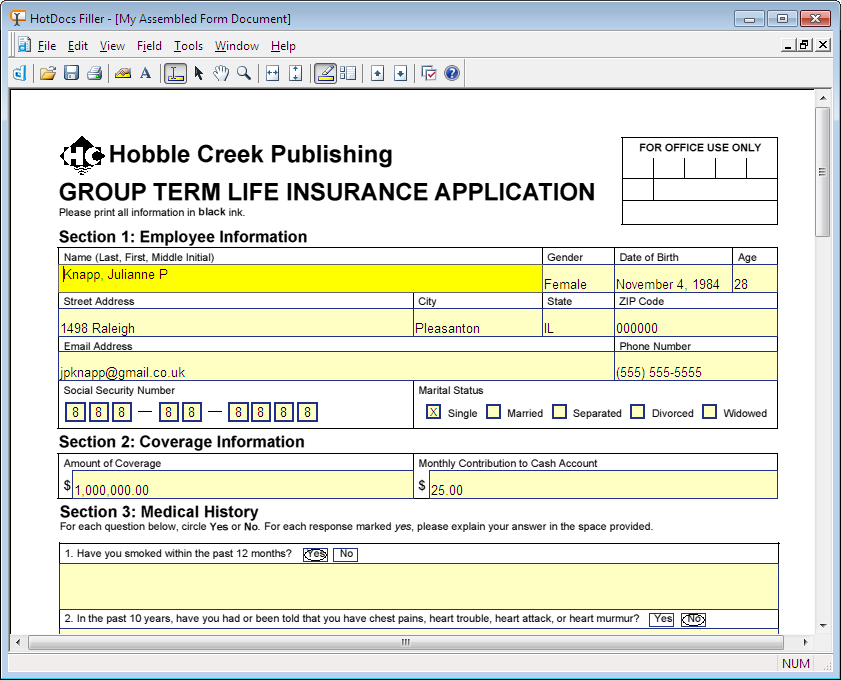
When the document is opened in HotDocs Filler, you can print, save, or edit it. For the purposes of this tutorial, however, you will simply view the document and then exit HotDocs Filler without saving the document.
- Choose Exit (File menu). When HotDocs prompts you, don’t save the document.
When assembling a PDF-based form, you can choose to view the assembled document in HotDocs Filler or Adobe Acrobat. You can specify your preference at HotDocs Options. (See HotDocs Options > Form Documents > Send assembled PDF-based forms to.) By default, PDF-based forms are sent to Adobe Acrobat.
Conclusion
You are now finished with this lesson. In it, you learned how to assemble a form document. You also learned how to answer questions in the interview, enter or modify answers using direct-fill at the Form Document tab, as well as how to save and print the assembled form document.
Choose Close (File menu) to close the assembly window. You are returned to the HotDocs library. If you do not want to go on to Lesson 2 at this time, choose Exit (File menu) to close HotDocs.