Introduction: Create Your Own Dialogs
When you insert variables in your templates, HotDocs automatically creates a default dialog (or a question window) for each variable. When the user assembles the document, HotDocs presents each of these individual dialogs in the order the variables are used in the template.
However, if you want to have more control over the information-gathering process, you can create custom dialogs. To do this, you group related questions together and add text (and other design elements) to the dialog to help the user provide correct answers. You can also control the order in which custom dialogs appear during the interview.
When you add a variable to a dialog, HotDocs creates a link between the variable and the dialog. When an answer is needed for the variable during the interview, HotDocs displays the linked dialog instead of displaying the variable by itself.
When creating dialogs, you can add visual elements to the dialog, such as lines, graphics, and white space. You can also include links to computations, applications, or even a Web page. All of these tools give your users a better experience answering questions in the dialog.
The following shows the Dialog Editor with a list of the variables that have been linked to it.

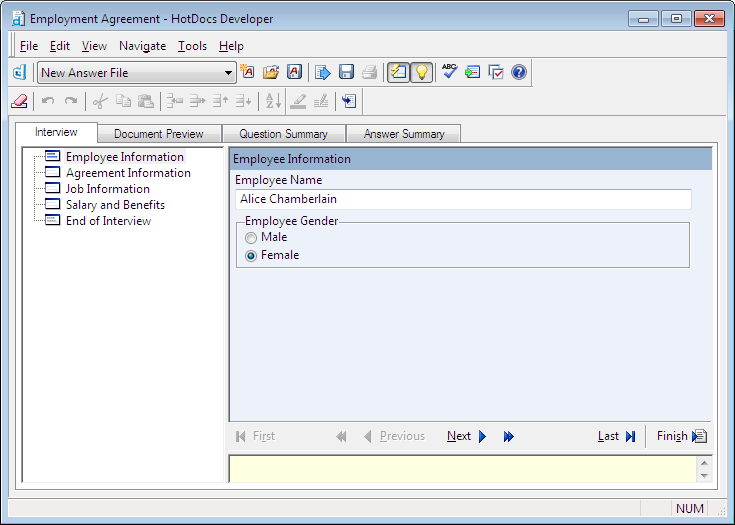
During the interview, HotDocs displays the dialog and allows the user to enter answers.
You can also add scripts to your dialogs, which let you conditionally hide or dim variable questions and require that certain questions be answered. You can use text from a Windows or HTML Help file, Folio Infobase, custom program, or Web page as a resource for a dialog. You can also create an answer source—an answer file from which a user can select existing answers during the interview. Finally, you can change the width and placement of answer fields in the dialog.
For more information on using the dialog editor follow the links below:
- At a Glance: The Dialog Editor (Properties Tab)
- At a Glance: The Dialog Editor (Options tab)
- At a Glance: The Dialog Editor (Script tab)
- At a Glance: The Locals tab (Variable/Dialog Editor)
- At a Glance: The Resource tab (Variable/Dialog Editor)
- At a Glance: The Dialog Editor (Layout tab)
- At a Glance: The Used In tab (Variable/Dialog Editor)
- At a Glance: The Notes tab (Variable/Dialog Editor)